
I finally find some time to continiue my retrospectation of my former projects.
Today I want to show you my Lictor Bust and the little story that is behind it.
In 2009 Mr.Moloch (as in Hive Fleet Moloch) and I decided to give our beloved Mr.Pink a visit. The reason were manyfold. That year, the Warpshadow Members organised a unique table setting, I had the funds and the time for such a travel and the stars alined in the right order.
But there is no visting our canadian friedn without crashing the Golden Demon. So, I sat down for, if I recall correctly, two or three weeks and let my sculpting tools and putty glow. All in all I managed to get three entries done and the Lictor was one of them.
In the end I didn't get everything done before the flight, which left me painting my stuff until the last minute before the flight ( I actually almost missed my flight because of that). Moloch was a bit annoyed when I instantly fell asleep on the plane, even before lift off (which is my favourite part of flying).
I shall tell you more of that amazing trip the next time.
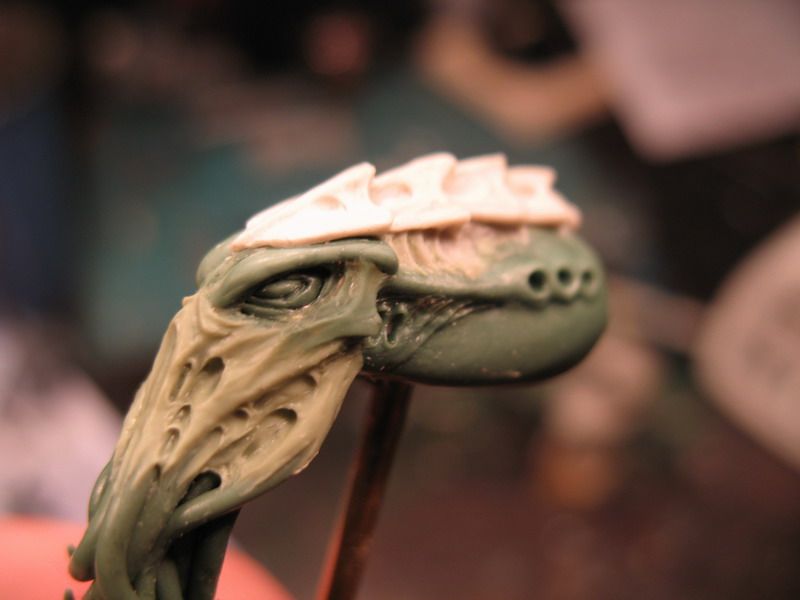
The Lictorbust is one of the few very good documented projects I did for a demon. Probably, because I checked it almost everyday with the community on warpshadow, who where a great help. Especially since this was going to be my first complete scratch sculpt ever.
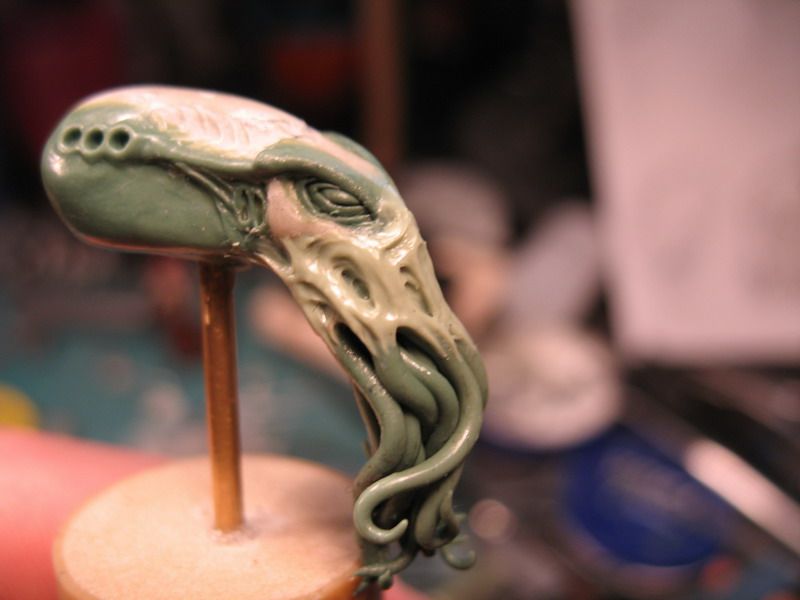
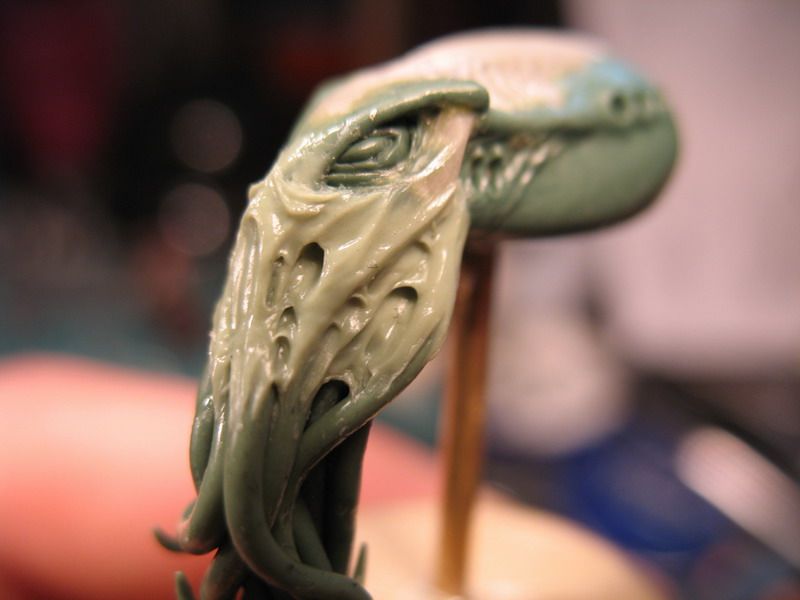
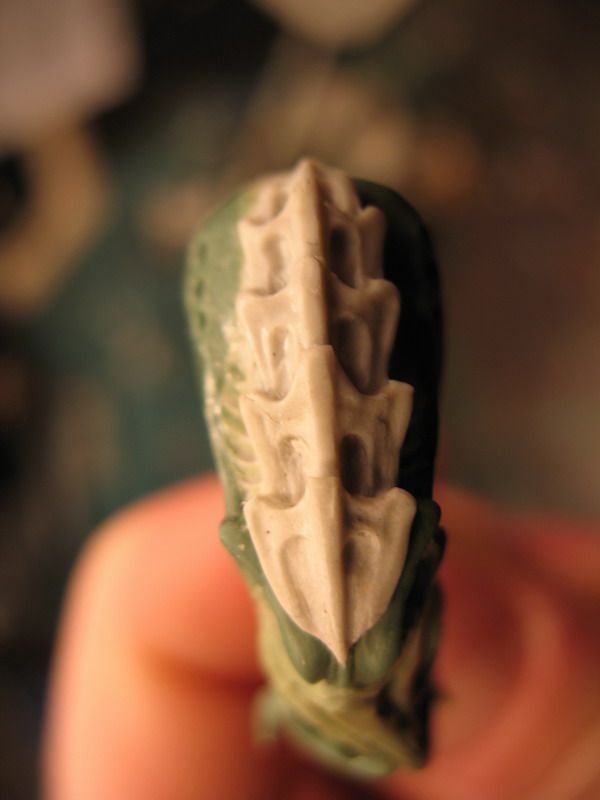
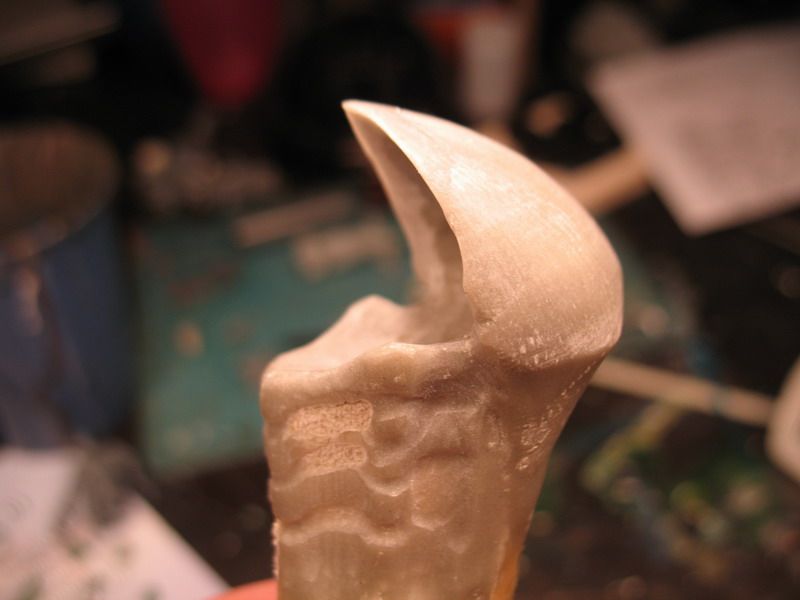
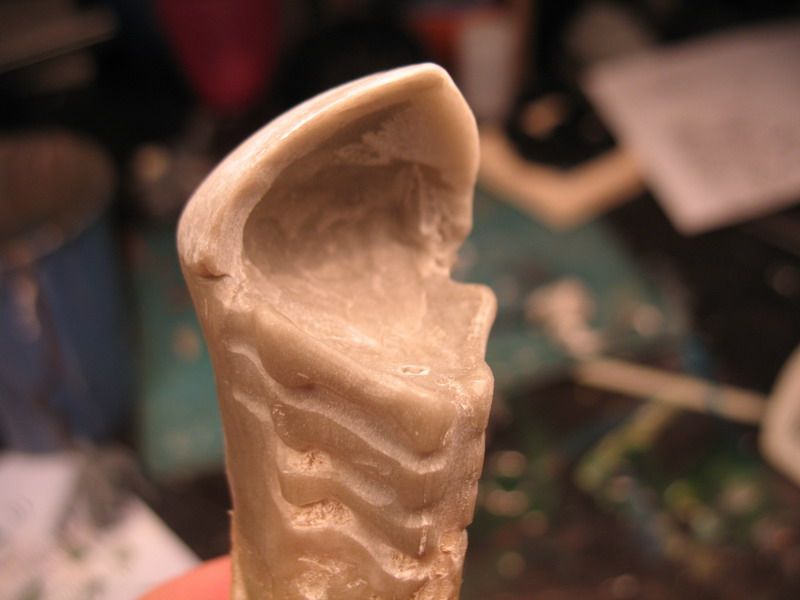
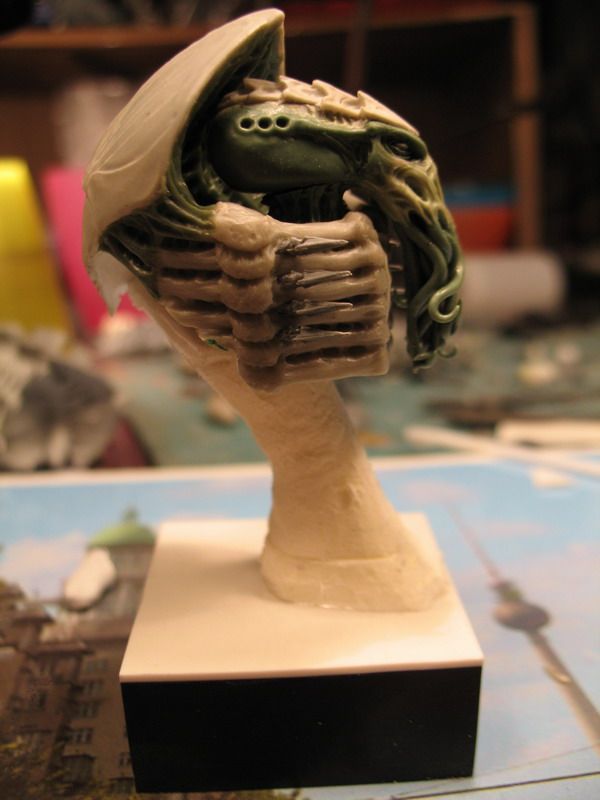
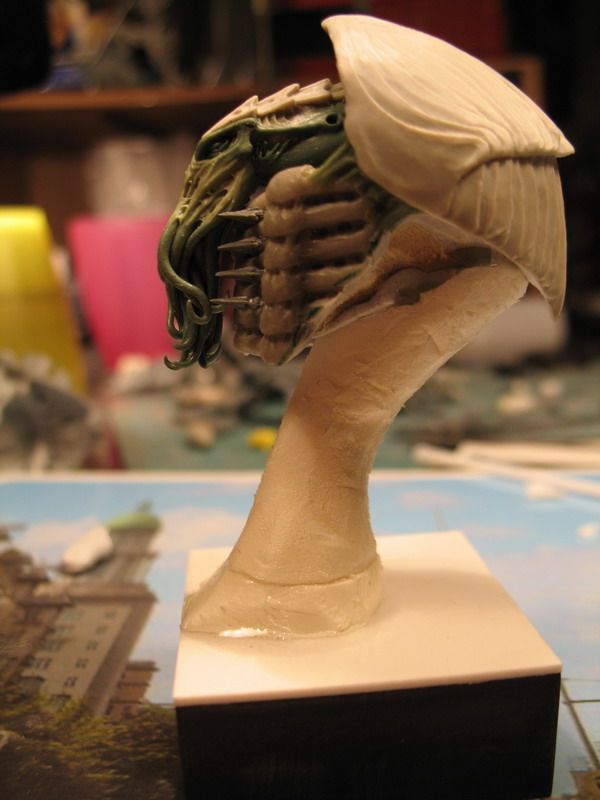
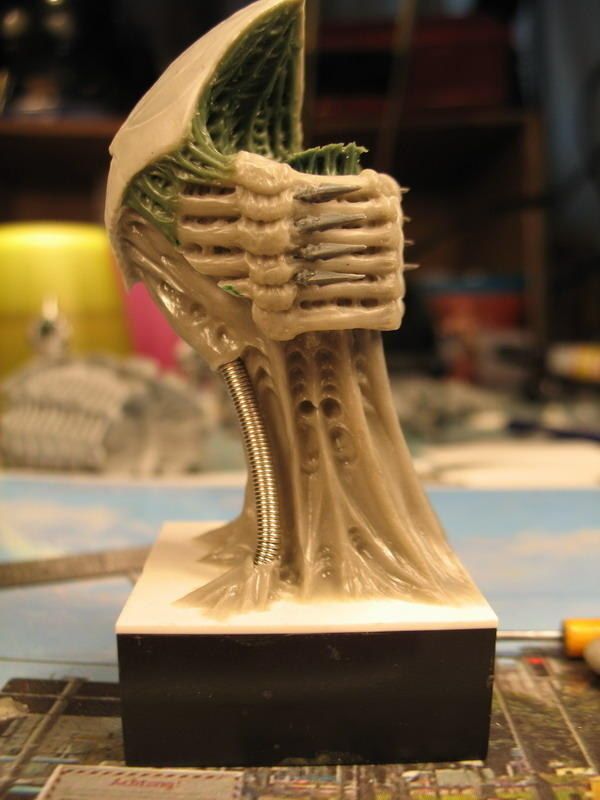
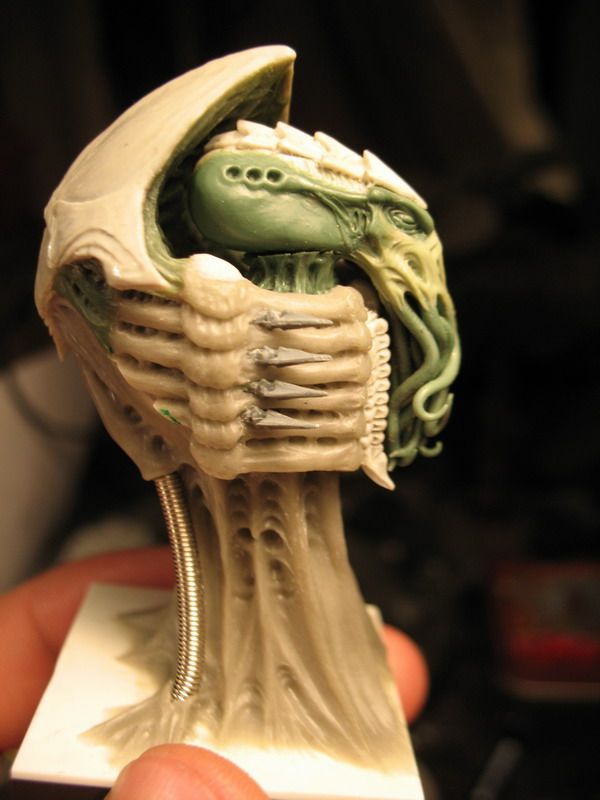
So, here are a few impressions of the different stages.
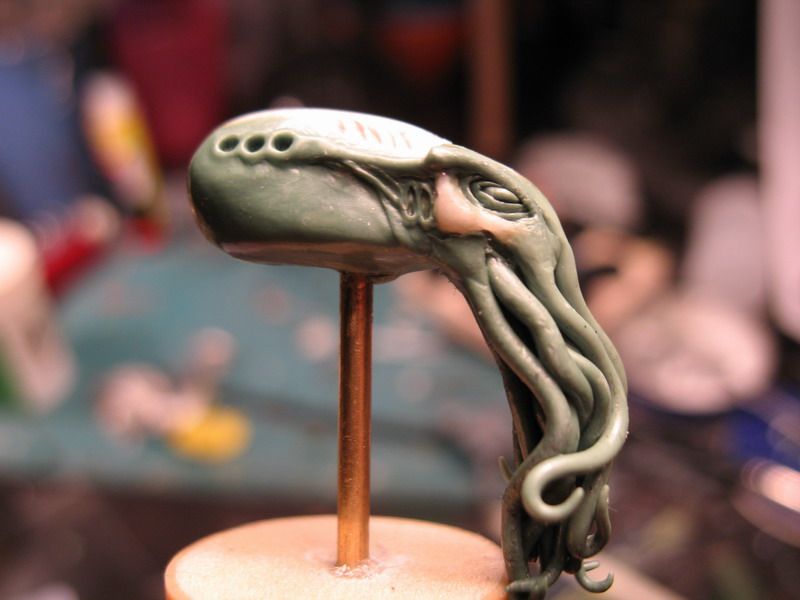
In the end it was my former nornqueen who simply said: Stop using your head... just sculpt :D
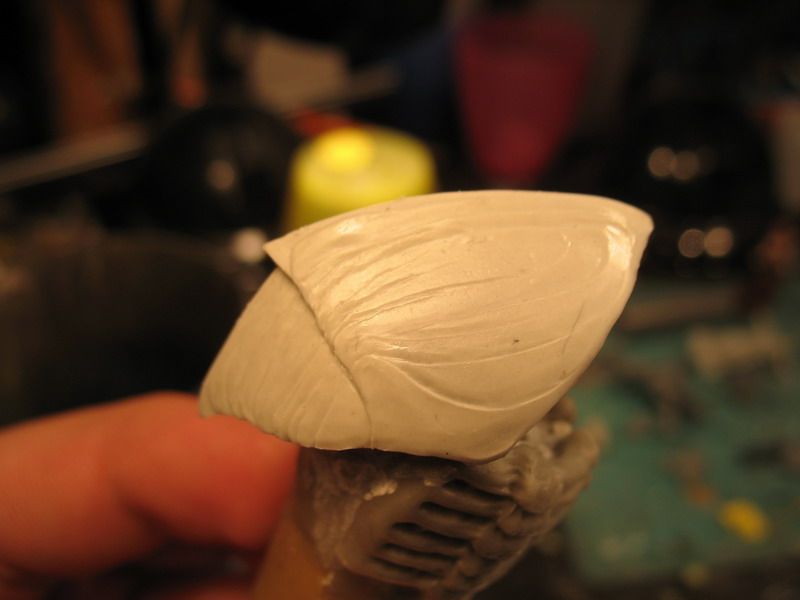
As I said, I wanted to sculpt this, not to simply paint it on.
I chose Magic Sculpt for that, since you can work really fine lines into the putty.
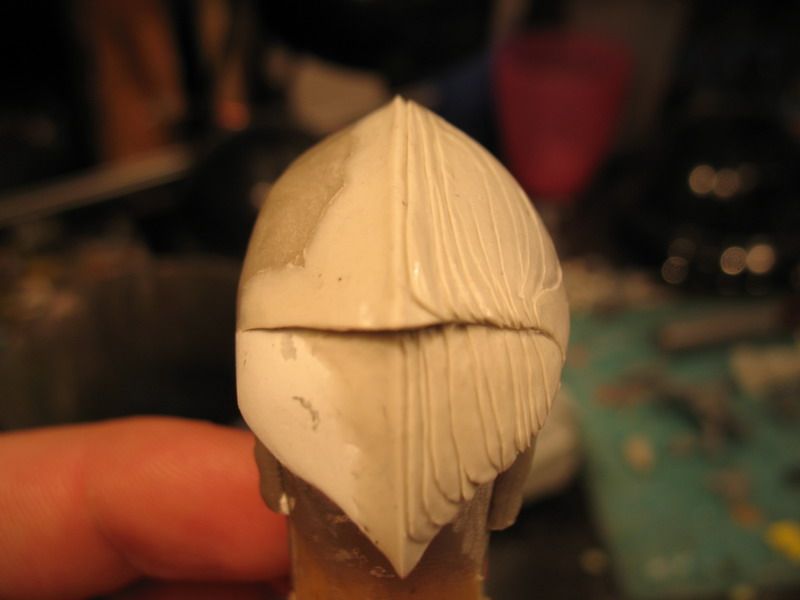
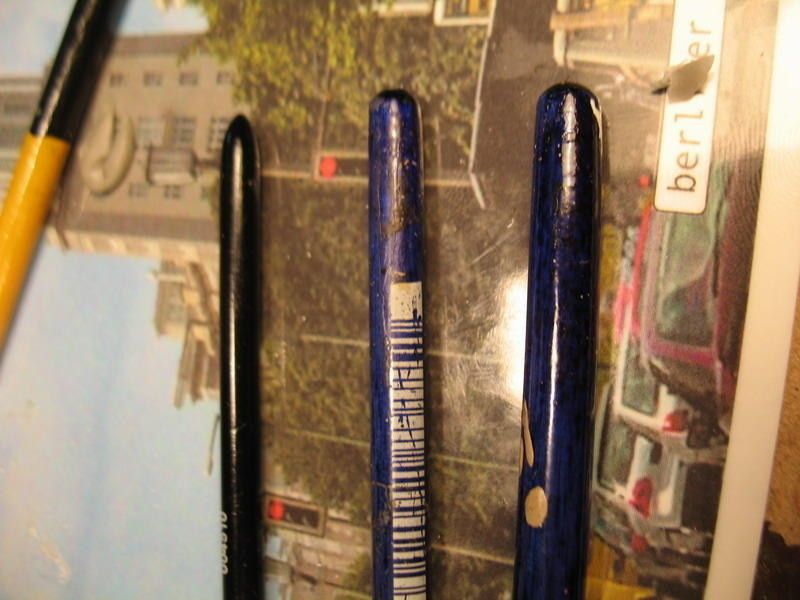
ecause I didn't have any silicone clayshapers back then, I used the ends of some brushes in various shapes and sizes. The big differnce, in retrospect, is the way you can work into the putty. Apoxy culpt has the advantage over greenstuff in the ability to be compressed to some degree. That works especially well, when you have a "hard" tool.
.jpg)
Welll, that for now.
Next time, I will have some fresh stuff from the 2nd Wave of Sedition Wars...
No comments:
Post a Comment